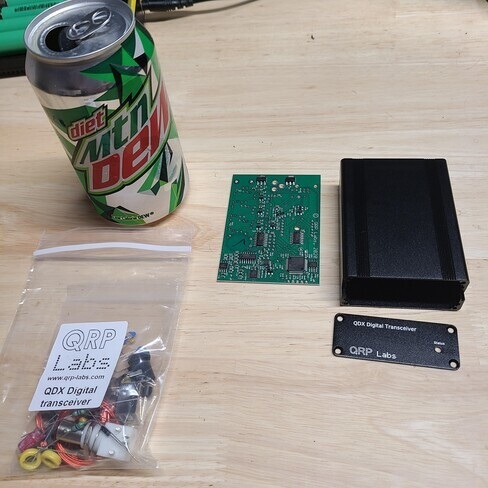
My build notes for a “Digital only” QRP transceiver kit for sale by QRPLabs. It operates on 80M, 40M, 30M and 20M, and comes with a built in USB Soundcard.
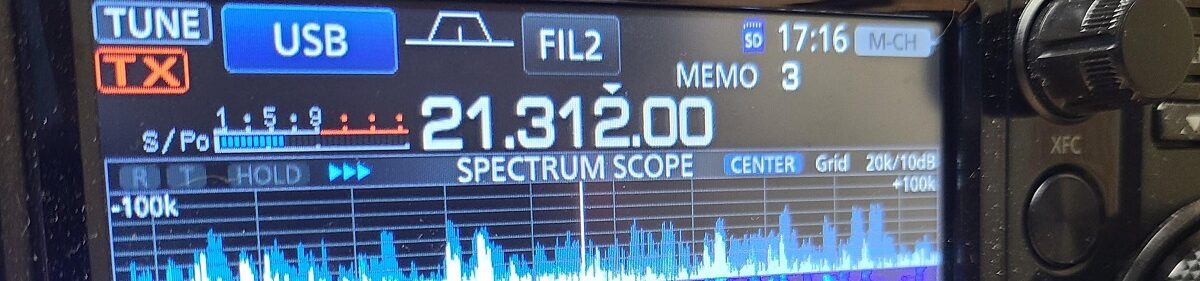
After a few months of usage, I can say that this is an outstanding device for doing FT8/FT4 and RTTY. I have made contacts all over the US, Europe, and even some in Africa with it.
$60 dollars for the kit and additional $20 for the black case. On the first buy, they sold out in 14 minutes (450+ kits), they expect to have more inventory soon.
This kit does not require a huge amount of skill to assemble, however, if you have never assembled a kit before, I highly recommend you become familiar with a soldering iron and soldering components to a PCB.
Some type of magnifier, ideally one that you were around your head so as to keep your hands free, but a Jeweler’s loupe would work also. This will be required to read very small values on components and to inspect some of your assembly work.
Some of the first production run kits contained assembly errors and require removing some components and tacking on new ones. This in itself is not difficult, but will be a major source of frustration and could possibly result in damage to the board if you are not comfortable with your soldering capabilities. The last step requires tacking on 4 through-hole components to SMD chips. This requires apply just enough and heat to not damage the board. The next production run of the boards claims to have this issue corrected. This has since been corrected in later revisions.
When measuring out wire for the hand wound toroids, be liberal on the measurements indicated in the manual, BUT NOT TOO LIBERAL like I did! I ended up having to order a spool or 28 AWG enamel wire from Amazon because I wasted too much of the wire supplied into the kit.
Winding of the toroids requires patience and the ability to concentrate on the number of turns on the wire. The manual makes it a point to define what a single loop is.
Above all else, pay attention to the assembly manual. The manuals that come with the kits are quite excellent and go into a lot of detail regarding each step. One of the better assembly manuals I have ever worked through.
Do not let these recommendations sway you from attempting this kit, has been quite fun to assemble. Here are some pictures of my progress….
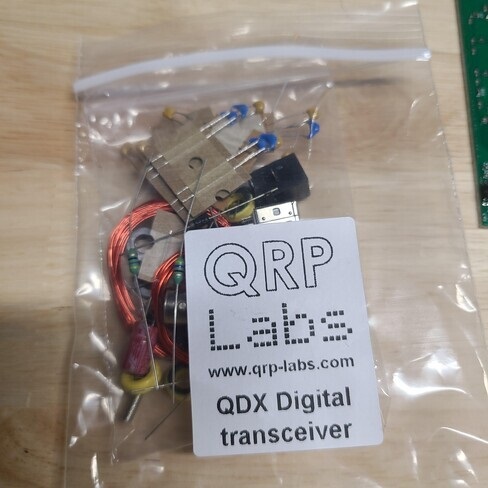
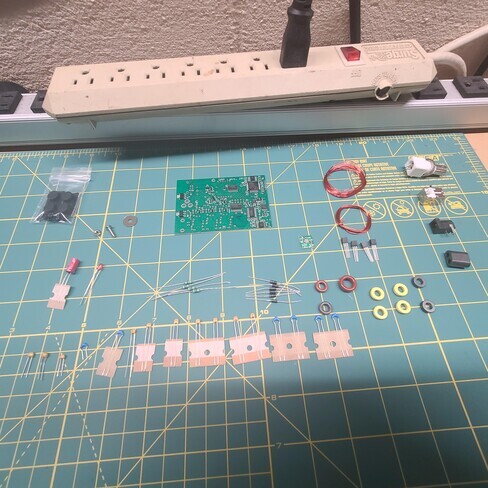
Inventory
Kit components inventoried, laid out, and ready to begin
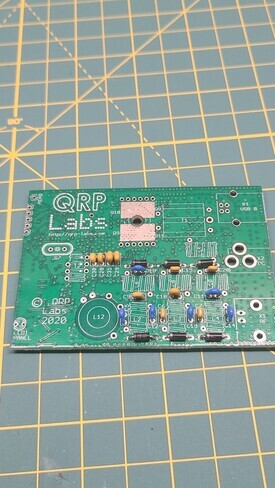
Kit Assembly started
All low profile components are installed first
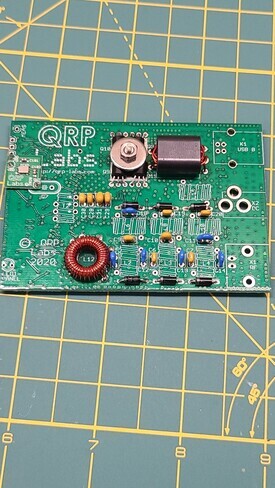
The “Goodies”
Finals, transformer and largest torroid wound and installed
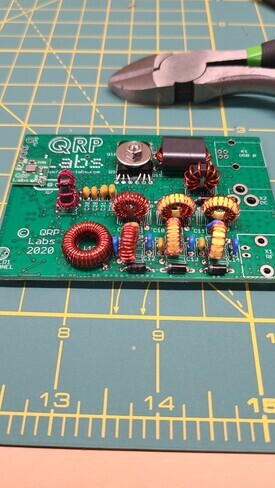
Band Pass Filters
Remaining Band Pass and installed for each of the supported Ham Bands (This is were I ran out of wire and had to order more)
Bottom components
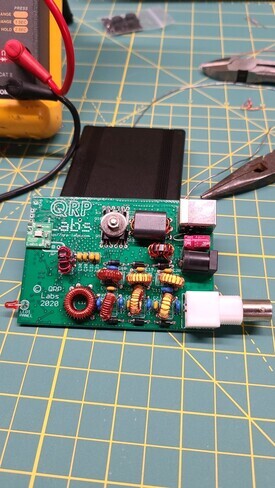
Completed assembly with extras components tacked on due to the board manufacturing errors mentioned above. There are some additional components attached to the bottom that were the trickiest, as they had to be tacked onto a surface mount component. This is something that is no longer required in the later kits.

Ready for testing!